
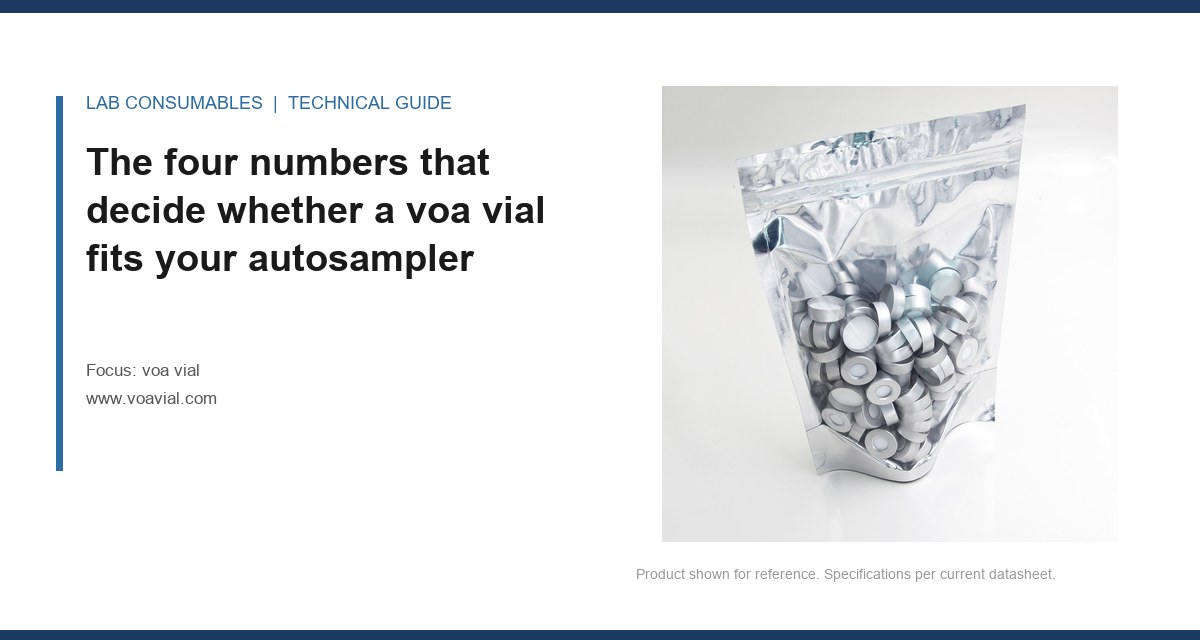
Last Tuesday I watched a 40-position autosampler rack a 2 mL vial, drive the needle down, and stop 1.8 mm short of the septum. The run aborted. The tray map said “vial present,” the method said “2 mL,” and the log said “needle depth fault.” The vial was 11.6 mm OD. The tray pocket was machined for 12.0 mm. That 0.4 mm difference was enough to tilt the vial 0.9 degrees, and the needle safety interlock read the tilt as a missing vial. Matching voa vial size compatibility with a specific autosampler or inlet model is not about “2 mL vs. 1.5 mL.” It is about four dimensions you can measure with a caliper in 90 seconds, and one you cannot see until the needle is already bent.
Every autosampler manufacturer publishes a tray drawing or a consumables specification sheet. Most labs never open it. They order “12 x 32 mm” because that is what the last person ordered. Then a new instrument arrives, or a new supplier quote comes in lower, and suddenly the same nominal size does not seat. Here is the dimensional stack I check before any purchase order goes out.
Outside diameter (OD). The common voa vial OD values are 11.6 mm, 12.0 mm, and 12.7 mm. Agilent 7693A and 7697A trays are machined for 12.0 mm OD vials with a tolerance of +0.0 / -0.15 mm. A 11.6 mm vial will sit in the pocket, but it can rock. A 12.7 mm vial will not enter the pocket at all on some tray inserts. I have measured Thermo TriPlus RSH trays at 12.2 mm pocket ID. That means a 12.0 mm vial has 0.2 mm of clearance, and a 12.7 mm vial is a hard jam. Check the pocket ID, not just the nominal vial OD.
Height. The standard voa vial heights are 32 mm and 40 mm for 1.5-2 mL formats, and 57 mm for 20 mL headspace vials. But height is not a single number. It is the stack height: vial shoulder to septum top. A 12 x 32 mm vial with a 9 mm screw cap and a 1.3 mm septum has a total stack of roughly 39 mm with the cap torqued to 8-10 in-lbs. Some autosamplers, like the Shimadzu AOC-20i, have a needle stroke calibrated for a 38.5 mm stack. A 1.5 mm difference means the needle either bottoms out on the septum without piercing, or pierces and then hits the vial floor. I have seen a 7693A needle bend 4 degrees after a lab switched from a 1.0 mm septum to a 1.5 mm septum without adjusting the needle depth offset.
Neck finish. Voa vials come in 8-425, 9-425, 10-425, 11 mm crimp, and 13-425 thread finishes. The GPI finish number is not a suggestion. An 8-425 cap on a 9-425 vial will thread on two turns and then strip. A 9-425 cap on an 8-425 vial will seat but leave a 0.3 mm annular gap, and your headspace pressure will leak at 90 °C. I check the finish with a thread gauge. It takes 10 seconds and prevents a 40-vial sequence from failing at vial 17.
Insertion depth. This is the dimension nobody puts on the purchase spec. It is the distance from the top of the septum to the point where the needle tip must stop to draw the correct volume without contacting the vial floor or the insert bottom. For a 12 x 32 mm vial with a 250 µL pulled-point glass insert, the insertion depth is typically 18.5 to 20.0 mm. For a 12 x 40 mm vial with a 100 µL insert, it is 22.0 to 23.5 mm. If your autosampler has a fixed needle depth and you change vial height or insert style, the draw volume shifts. I have measured a 6% RSD on a 10 µL injection traceable entirely to a 1.2 mm insertion depth error.
Read the tray drawing before you read the catalog
The catalog page for a Voa Vial lists OD, height, and finish. It does not list the tray pocket ID, the needle stroke, or the gripper jaw clearance for your specific instrument. Those numbers live in the instrument manual, usually in a section called “Sample tray specifications” or “Consumables and maintenance.” I keep a one-page sheet for each autosampler in the lab with these values written down. When a new vial quote comes in, I check the quote against the sheet, not against the old vial.
For example, the Agilent 7697A headspace sampler tray accepts 10 mL, 20 mL, and 22 mL vials with a 22.5 mm OD and a 75.5 mm height for 20 mL vials. The 7693A liquid autosampler accepts 2 mL vials at 12.0 mm OD and 32 mm height. The Thermo Fisher TriPlus 300 headspace autosampler uses 20 mL vials at 22.5 mm OD and 75.5 mm height, but the tray insert for 10 mL vials has a different pocket depth. If you put a 10 mL vial in a 20 mL insert, the vial sits 28 mm low, and the needle will not reach the headspace. I have watched a lab do exactly this on a Monday morning after a weekend method change.
The Agilent chromatography consumables and columns site has tray drawings for every current model. The Thermo Fisher chromatography and sample handling site has the same for TriPlus and AS-1310 autosamplers. Download the drawing. Print it. Tape it to the cabinet where the vials are stored. When someone says “these vials are cheaper,” point to the drawing and ask which dimension they verified.
Case: the 11.6 mm vial that passed every visual check and failed every injection
A contract lab running EPA 8260 volatiles on a 7697A headspace sampler switched from a name-brand 20 mL vial to a generic 20 mL vial to cut consumables cost. The new vial was 22.5 mm OD, 75.5 mm height, 20 mm crimp finish. Every number on the quote matched. The first sequence ran 12 samples, then the autosampler gripper dropped a vial. The lab retorqued the crimp caps, cleaned the gripper jaws, and restarted. Vial 9 dropped again.
The measurement that identified it: the crimp cap skirt OD. The name-brand cap had a skirt OD of 22.9 mm. The generic cap had a skirt OD of 23.4 mm. The gripper jaws on the 7697A close to 23.1 mm. The 0.3 mm difference meant the gripper could not fully close on the cap, so the friction grip was marginal. Vials with a slightly oily septum surface or a 0.1 mm cap height variation slipped. The fix was not a different vial. It was a different cap with a 22.9 mm skirt OD. The vial itself was fine. The dimensional stack failed at the cap, not the glass.
This is why I do not evaluate a voa vial as a single component. I evaluate the assembled stack: vial plus cap plus septum, torqued to the instrument’s specified value. For crimp caps, that is a crimp jaw setting of 8.0 to 8.5 mm on most manual crimpers. For screw caps, it is 8 to 10 in-lbs of torque. A 12 in-lb torque on a 9-425 screw cap will compress a 1.0 mm PTFE/silicone septum by 0.15 mm and change the insertion depth enough to matter on a 5 µL injection.
Headspace vs. liquid autosampler: the same vial is not the same vial
A 20 mL voa vial for headspace work has a 22.5 mm OD and a 75.5 mm height. A 20 mL voa vial for liquid autosampler work does not exist in the same form factor, because liquid autosamplers for 20 mL vials are rare outside prep systems. The confusion comes when a lab buys “20 mL vials” for a headspace method and then tries to use the same vials on a liquid handler with a 20 mL tray. The tray pocket is different, the needle stroke is different, and the septum requirement is different.
Headspace vials need a septum that seals at 90-110 °C and resists coring after 20-30 needle punctures. A standard 20 mm PTFE/silicone septum rated for 100 punctures at 25 °C will fail at 40 punctures at 100 °C. The Septa spec sheet lists temperature ratings and puncture counts. I match the septum to the method temperature, not to the vial. A 20 mL headspace vial with a 20 mm crimp top will accept a 0.125 inch thick septum or a 0.090 inch thick septum. The thicker septum seals better at high temperature but reduces the headspace volume by roughly 0.3 mL. If your method calibration was built with a 0.090 inch septum, switching to 0.125 inch changes the phase ratio and shifts the response factor. I have seen a 7% low bias on benzene after exactly this switch.
For liquid autosamplers, the vial is usually 12 x 32 mm with a 9-425 screw finish or an 11 mm crimp finish. The Vial Septa selection for liquid work is different: thinner septa, lower puncture counts, but better reseal for multiple injections from the same vial. A 9-425 screw cap with a 1.0 mm PTFE/silicone septum will reseal for 8-10 injections on a 7693A before the needle starts to core the septum. After that, septa particles end up in the inlet liner, and your peak area RSD climbs from 1.5% to 4%.
Insert compatibility: the hidden dimension inside the vial
Many voa vials for liquid work use a glass insert to reduce the dead volume. The insert is not a universal fit. A 250 µL pulled-point insert for a 12 x 32 mm vial has a specific OD, usually 5.6 to 5.8 mm, and a specific length, usually 28 to 29 mm. If the insert OD is 0.2 mm too large, it jams in the vial neck. If it is 0.2 mm too small, it rattles and breaks during vortexing. I have opened an autosampler tray to find a vial full of glass shards after a 2-minute vortex step with an undersized insert.
The insertion depth question gets more complicated with inserts. A 250 µL insert in a 12 x 32 mm vial places the sample surface at roughly 8 mm from the vial floor. The needle tip must reach that surface without bottoming out. If your autosampler needle depth is set for a vial without an insert, the needle will hit the insert bottom and bend. If it is set for a 250 µL insert and you run a vial without an insert, the needle will draw air. The fix is a needle depth offset in the autosampler method, usually 2 to 4 mm. Write it down. Put it in the method. Do not rely on the operator to remember.
For headspace vials, inserts are rare but not unknown. A 20 mL headspace vial with a 2 mL glass insert is used for small sample volumes in some environmental methods. The insert changes the headspace volume and the phase ratio. If you calibrate with a 2 mL insert and then run a vial without one, the peak area for a volatile like vinyl chloride can shift by 30% or more. The U.S. EPA SW-846 test methods for waste and materials specify the vial and insert configuration for each method. Read the method. Do not assume the vial is the only variable.
Decision checklist: verify these five values before you buy
I keep this checklist taped to the monitor in the purchasing office. It has saved more runs than any training session.
- OD vs. tray pocket ID. Measure the vial OD with a caliper. Measure the tray pocket ID. Clearance must be 0.1 to 0.3 mm. Less than 0.1 mm risks jamming. More than 0.3 mm risks rocking and needle misalignment.
- Stack height vs. needle stroke. Assemble the vial, cap, and septum. Torque to spec. Measure total height. Compare to the autosampler needle stroke specification. Mismatch over 0.5 mm requires a needle depth offset or a different component.
- Neck finish vs. cap finish. Verify the GPI finish number on both. 8-425, 9-425, 10-425, 11 mm crimp, 13-425, 20 mm crimp. A mismatch is not fixable with more torque.
- Septum puncture rating vs. method injection count. If the method runs 30 injections per vial and the septum is rated for 20 punctures, you will see septa coring by injection 25. Buy a higher puncture count septum or reduce injections per vial.
- Insert OD and length vs. vial ID and needle depth. If using an insert, measure the insert OD and length. Confirm the insert seats fully in the vial and the needle depth is offset correctly.
Case: the 20 mL vial that fit the tray but not the method
A food safety lab running residual solvents on a Thermo TriPlus 300 headspace autosampler ordered a new lot of 20 mL vials. The vials fit the tray. The crimp caps sealed. The sequence started clean. Then the internal standard peak area dropped 12% between the calibration curve and the first QC sample.
The measurement that identified it: the vial shoulder radius. The original vials had a shoulder radius of 4.5 mm. The new vials had a shoulder radius of 3.8 mm. The sharper shoulder changed the internal geometry enough to alter the headspace convection pattern during the 15-minute equilibration at 80 °C. The phase ratio did not change. The vial volume was identical. The heat transfer to the headspace was different because the glass wall thickness distribution changed. The fix was to re-equilibrate the method with the new vial lot and update the calibration. The lesson: dimensional compatibility is necessary but not sufficient. Glass geometry affects headspace equilibration, and no tray drawing will tell you that.
This is where the Restek technical resources for chromatography become useful. Restek publishes application notes on headspace vial geometry and equilibration time. I have used their data to justify a 5-minute longer equilibration when a vial lot changes. The alternative is a failed sequence and a day of troubleshooting.
What the autosampler manual actually says (and what it does not)
The Agilent 7693A manual specifies a 2 mL vial at 12.0 mm OD and 32 mm height with a 9-425 screw finish. It does not specify the septum thickness, the cap material, or the insert type. Those are method variables. The manual assumes you will use the manufacturer’s recommended consumables, but it does not say what happens if you do not. What happens is what I described above: needle depth faults, dropped vials, septa coring, and RSD drift.
The Thermo TriPlus RSH manual is more specific. It lists the vial OD at 11.6 mm for some tray types and 12.0 mm for others, depending on the tray insert. If you have the wrong insert, the vial sits at the wrong height. I have seen a TriPlus RSH with a 12.0 mm insert running 11.6 mm vials. The vials rocked 0.5 degrees. The needle bent after 200 injections. The fix was a $40 tray insert, not a $400 needle.
The Shimadzu AOC-20i manual specifies a 1.5 mL vial at 11.6 mm OD and 32 mm height with an 8-425 finish. Many labs run 12.0 mm vials in it because the tray pocket is slightly oversized. It works until the gripper jaw wears, and then the 12.0 mm vial sticks. I have replaced gripper jaws on an AOC-20i after a lab ran 12.0 mm vials for a year. The jaws were worn 0.2 mm on each side. The fix was new jaws and a return to 11.6 mm vials.
The Hplc Vial selection for these instruments is not interchangeable. A vial that fits a 7693A may not fit an AOC-20i. A vial that fits a TriPlus RSH may not fit a 7697A headspace sampler. The instrument is the spec. The vial is the variable.
Torque, puncture counts, and the numbers that prevent field failures
I have a torque wrench in the lab for screw caps. It is calibrated to 8 in-lbs. Every analyst uses it. No hand-tightening. Hand-tightening on a 9-425 cap varies from 5 to 15 in-lbs depending on the analyst. At 5 in-lbs, the septum does not seal, and the vial leaks during injection. At 15 in-lbs, the septum compresses, the cap deforms, and the vial may crack at the neck. The torque spec is not a suggestion. It is the difference between a 1.5% RSD and a 5% RSD on a 10 µL injection.
For crimp caps, the crimp jaw setting matters more than the crimper brand. A 20 mm crimp cap on a 20 mL headspace vial needs a jaw setting of 8.0 to 8.5 mm. A 7.5 mm setting overcrimps and deforms the cap skirt. A 9.0 mm setting undercrimps and leaks at 90 °C. I have measured a 0.2 mL headspace pressure loss at 90 °C on an undercrimped vial. The peak area for the internal standard dropped 15%. The fix was recrimping with the correct jaw setting.
Septum puncture counts are published by the septum manufacturer. A standard 20 mm PTFE/silicone septum is rated for 50 punctures at 25 °C and 25 punctures at 100 °C. A premium septum with a thicker PTFE layer is rated for 100 punctures at 25 °C and 50 at 100 °C. If your method runs 40 injections per vial at 80 °C, a standard septum will core by injection 35. Buy the premium septum or reduce injections per vial. The cost difference is a few cents per vial. The cost of a failed sequence is a day of rework.
The decision rule
Measure the four dimensions: OD, stack height, neck finish, and insertion depth. Verify each against the autosampler tray drawing and needle stroke specification. Assemble the full stack and torque to spec before you buy a case. If any dimension is outside the instrument’s tolerance by more than 0.3 mm, reject the vial. If the septum puncture rating is below the method injection count, upgrade the septum. If the vial fits the tray but the method response shifts, check the glass geometry and re-equilibrate. The vial that fits is not always the vial that works. The vial that works is the one you measured.
References & further reading
Related resources from our lab consumables network:
External references and standards: