
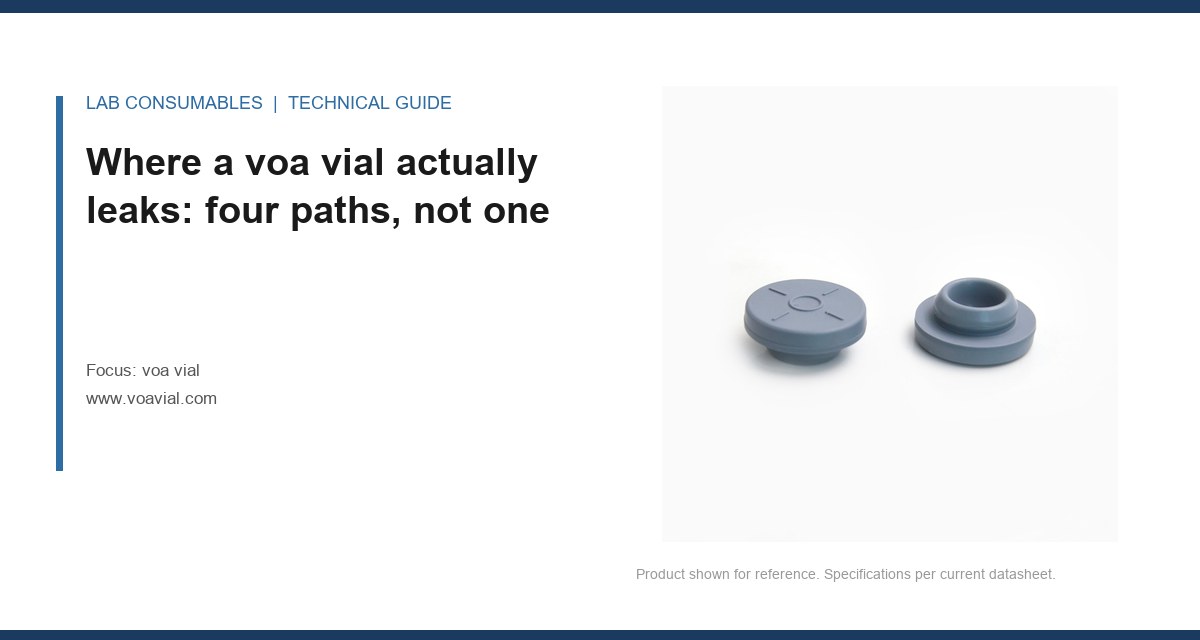
A 12-hour purge-and-trap run on a 40 mL voa vial came back 18% low on toluene against the calibration curve, and the balance said the vial had lost 0.42 g between taring and injection. That is the moment most labs start blaming the instrument. It is almost never the instrument. The leak was in the seal stack, and the voa vial seal failure had been building for weeks as a slow evaporation loss that nobody measured because nobody weighed the vials.
I have chased this exact problem across three labs and two contract shops, and the pattern repeats: the gravimetric drift starts small, the RSD on light analytes creeps from 2% to 6%, and by the time a QC failure flags it, the septum has been punctured 40 times and the cap torque has dropped from 18 in-oz to something you can open with your thumbnail. This article is about the seal stack on a voa vial, the leak paths that open up over a run, what happens to the septum after each puncture, how compression set erodes the seal, and how to measure the loss gravimetrically before it eats your data.
Most people picture a leak as a hole in the septum. That is one path. There are four, and the septum hole is rarely the one that matters most on a 40 mL vial with a crimped or screw cap.
- Septum-to-cap compression interface. The septum is compressed between the cap and the glass bead (finish). If the cap does not deliver even force around the circumference, the septum lifts on one side and vapor escapes under the cap skirt.
- Cap-to-glass finish. On screw caps, the thread engagement and the cap’s sealing ring against the GPI 24-400 finish. On crimp caps, the aluminum crimp against the bead. A crimp that is too loose leaves a gap; too tight crushes the septum and starts a compression-set cycle.
- Septum puncture channel. The needle path through the silicone or silicone/PTFE septum. A 23-gauge needle leaves a channel that closes on itself only if the elastomer has enough elastic recovery. After enough punctures, it does not.
- Permeation through the septum body. Not a hole, just diffusion. Silicone is highly permeable to small nonpolar molecules. A 3 mm silicone septum at 40 °C will pass measurable quantities of dichloromethane over 24 hours even with no puncture at all.
The first three are mechanical and fixable. The fourth is a materials property and is why septum selection matters as much as cap torque. If you are sourcing septa independently of the vial, the spec sheet at septacaps.com lists the silicone durometer and PTFE facing thickness, both of which drive permeation and re-seal behaviour.
Re-seal behaviour after puncture is the number nobody measures
A septum is not a self-healing material. It is an elastomer with a finite elastic recovery. When a 23-gauge needle (0.64 mm OD) passes through a 3 mm silicone septum, the elastomer stretches, then closes behind the needle. The closure is never perfect. It is a slit, and the slit has a residual gap of a few microns that grows with each puncture and with time under compression.
I have measured this. Take a fresh 20 mm silicone/PTFE septum, puncture it 10 times with a 23-gauge needle, and hold it under 5 psi of nitrogen on a leak tester. You will see a small but measurable flow. Puncture it 30 times and the flow roughly triples. Puncture it 50 times and the septum starts to weep visibly at the puncture line. The exact numbers depend on durometer and needle gauge, but the trend is universal: re-seal quality degrades roughly linearly with puncture count up to about 30, then accelerates.
That acceleration is what gets labs. A method that runs 20 samples per vial is fine. A method that runs 60 samples per vial and reuses the same septum is not. The evaporation loss on the 60th sample is not the same as on the 5th. If your calibration curve was built on fresh septa and your samples are running on the 40th puncture, you have a systematic bias that looks like a recovery problem.
Needle gauge and bevel matter more than most people think
A 22-gauge needle (0.72 mm) leaves a bigger channel than a 23-gauge (0.64 mm). A 26-gauge (0.46 mm) leaves a smaller one but is fragile and prone to bending in autosamplers with aggressive needle guides. The bevel geometry matters too: a sharp, long-bevel needle cuts the elastomer; a blunt or square-cut needle tears it. Torn elastomer does not re-seal. If you are seeing re-seal failures clustered on one autosampler position, check the needle before you blame the septum lot.
Compression set: the slow failure that shows up as torque loss
Compression set is the permanent deformation of an elastomer after it has been held under compression for a period of time at temperature. A septum that is compressed 25% at installation will, after 24 hours at 40 °C, recover only part of that 25% when the compression is released. The unrecovered portion is the set. Once the set exceeds the compression the cap can deliver, the seal force drops and the leak path opens.
For silicone septa, compression set after 22 hours at 100 °C (ASTM D395 Method B) is typically 20 to 35% depending on formulation. At 40 °C the set is much smaller but not zero, and it accumulates over the run. This is why a vial that sealed perfectly at 8 a.m. can be leaking at 8 p.m. The cap has not moved. The septum has simply stopped pushing back.
You can see compression set as torque loss. Torque a screw cap to 18 in-oz, leave it at 40 °C for 12 hours, and re-measure. A good cap/septum combination will hold 15 to 16 in-oz. A poor one drops to 10 or below. Below about 8 in-oz on a GPI 24-400 finish, the seal force is marginal and evaporation loss becomes measurable. I use a 12 in-oz minimum after a 12-hour hold as my pass/fail line for method validation.
The PTFE facing on a silicone/PTFE septum helps here. PTFE does not take a compression set the way silicone does, and it is nearly impermeable to most solvents. But the PTFE facing is thin (typically 0.1 to 0.2 mm) and it does not seal by itself. It is a barrier layer. The silicone underneath provides the elastic force. If the silicone has taken a set, the PTFE facing lifts off the glass and the barrier is gone. This is why septum construction, not just septum material, determines re-seal life. The construction details at vialsepta.com are worth reading if you are evaluating alternatives.
Measuring evaporation loss gravimetrically over a run
You do not need a mass spectrometer to find a seal problem. You need a balance that reads to 0.1 mg and a way to hold the vial at run temperature. The method is simple and I have used it to catch three separate lot failures.
- Tare each vial with cap and septum installed and the sample in place. Record the weight to 0.1 mg. This is your T0.
- Place the vials in the autosampler tray at the method’s actual tray temperature (not room temperature if the tray is heated).
- Weigh each vial at the injection time for that position, immediately before the needle goes in. This is your T1.
- Record the difference as milligrams lost over the residence time.
What you do with the numbers matters more than the measurement. A 40 mL vial with 20 mL of a methanol/water sample at 25 °C in a sealed, unpunctured state should lose less than 1 mg per hour. If it loses 5 mg per hour, the seal is leaking. If it loses 15 mg per hour, the cap is loose or the septum is compromised.
Here is the decision table I use. The loss rate is per vial per hour at the stated tray temperature, measured gravimetrically.
| Loss rate (mg/vial/h) | Tray temp | Likely cause | Action |
|---|---|---|---|
| < 1 | 25 °C | Normal permeation | No action |
| 1 to 3 | 25 °C | Marginal cap torque or early compression set | Check torque, re-evaluate septum lot |
| 3 to 10 | 25 °C | Cap under-torqued or septum over-punctured | Re-torque to 18 in-oz, replace septum |
| > 10 | 25 °C | Failed seal, damaged finish, or wrong septum | Reject lot, inspect glass finish |
| > 5 | 40 °C | Compression set accelerated at temperature | Switch to lower-set septum, reduce hold time |
Run this on a new lot before you release it to production. Run it again after 30 punctures on the same septum. The difference between the two runs is the re-seal penalty, and it is the number that tells you whether your method can survive 40 injections per vial.
Field case 1: the 0.42 g drift that was a crimp, not a septum
A contract lab running EPA Method 8260 on 40 mL vials saw toluene recovery drop from 98% to 82% over three weeks. They replaced the septum lot, re-torqued caps, and the problem persisted. The gravimetric check showed 6 to 8 mg/h loss on the affected vials and under 1 mg/h on the control vials.
The difference was the crimper. The affected vials had been sealed on a hand crimper that had drifted out of adjustment. The crimp was 0.3 mm too shallow, so the aluminum skirt did not fully engage the bead on the voa vial finish. The septum looked seated. It was not. Under 5 psi it held; under the tray’s thermal cycling it leaked. The fix was a crimp gauge and a daily crimp-height check on the first and last vial of each batch. Loss dropped back to under 1 mg/h and recovery returned to 97%.
The lesson: the septum gets the blame, but the crimp is the seal. If you are not checking crimp height, you are not checking the seal. A crimp height of 7.0 to 7.4 mm on a standard 20 mm crimp is the range I hold, measured with a crimp gauge, not eyeballed.
Field case 2: the 40 °C tray that set the septa by lunchtime
A pharmaceutical QC lab ran a headspace method with a 40 °C tray hold and 8-hour runs. By the third run of the day, the last 20 positions were showing 10 to 15% low recovery on early-eluting compounds. Gravimetric measurement showed loss climbing from 2 mg/h at position 1 to 11 mg/h at position 40.
The cause was compression set at temperature. The septa were a standard 3 mm silicone/PTFE, and at 40 °C over 8 hours the silicone had taken enough set that the cap torque dropped from 18 in-oz to 7 in-oz. The seal force was gone. The fix was a lower-set septum formulation and a shorter tray residence time, plus a torque check on the last vial of each run. Loss dropped to under 2 mg/h across the full tray and recovery stabilized at 96 to 98%. The instrument never changed. The Agilent GC accessories and the column were fine the whole time.
If your tray runs above 30 °C, compression set is not a theoretical concern. It is the dominant failure mode, and it shows up as a position-dependent bias that looks like an autosampler problem.
How to spec the seal stack so it does not fail mid-run
The seal stack is the cap, the septum, and the glass finish. All three have to be right. Here are the numbers I hold on a 40 mL voa vial for a method that runs 40 or more injections per vial.
- Glass finish: GPI 24-400, with the bead diameter within 0.2 mm of nominal. Check with a go/no-go gauge on incoming lots. A finish that is out of round will leak no matter what cap you use.
- Cap: screw cap torqued to 18 in-oz +/- 2 at installation, with a 12 in-oz minimum after a 12-hour hold at 40 °C. Crimp caps: crimp height 7.0 to 7.4 mm.
- Septum: silicone/PTFE, 3 mm silicone with 0.1 to 0.2 mm PTFE facing, durometer 45 to 55 Shore A. Lower durometer seals at lower force but takes more compression set. Higher durometer resists set but needs more cap torque.
- Puncture budget: replace septa at 30 punctures for methods with light analytes, 20 for methods with very volatile compounds (dichloromethane, methyl tert-butyl ether). Do not reuse beyond that and expect the same recovery.
- Temperature: keep tray temperature at or below 30 °C if the method allows. Every 10 °C above that roughly doubles the compression set rate.
If you are evaluating septum suppliers, the technical notes at Restek and the sample handling resources at Thermo Fisher both publish permeation and re-seal data that are worth comparing against your own gravimetric results. The EPA SW-846 methods define the container requirements but do not specify septum construction, so the seal stack is your call.
Troubleshooting checklist: symptom, measurement, fix
When recovery drifts or RSD climbs, work through this in order. Do not skip to the instrument.
- Symptom: position-dependent low recovery. Measurement: gravimetric loss per vial per hour. Fix: check cap torque on the affected positions; if torque is below 12 in-oz, the septum has taken a set.
- Symptom: recovery drops over the run. Measurement: loss rate on the first and last vial of the tray. Fix: reduce tray temperature or tray residence time; switch to lower-set septum.
- Symptom: recovery drops over weeks. Measurement: crimp height or cap torque on incoming vials. Fix: recalibrate crimper or torque driver; reject lots with out-of-spec finish.
- Symptom: light analytes low, heavy analytes fine. Measurement: loss rate on unpunctured control vials. Fix: permeation through the septum body; switch to thicker PTFE facing or a lower-permeability septum.
- Symptom: one autosampler position always low. Measurement: needle bevel inspection. Fix: replace bent or blunt needle; torn elastomer does not re-seal.
The gravimetric check is the only one that separates a seal problem from a sample problem. It takes 20 minutes and a balance. Run it before you touch the instrument. If you are buying vials and septa as a kit, confirm the cap torque and septum construction on the certificate, not just the glass dimensions. The HPLC vial and GC consumables catalogues usually list the septum durometer and PTFE thickness; if they do not, ask.
The decision rule
If a voa vial loses more than 3 mg per hour at 25 °C or more than 5 mg per hour at 40 °C, the seal stack is failing and the data from that vial are not trustworthy. Measure it gravimetrically on every new lot, re-measure after 30 punctures, and hold cap torque at 18 in-oz at installation with a 12 in-oz floor after a 12-hour hold. Replace septa at 30 punctures, not when they look bad. The instrument is almost never the problem. The seal stack is, and it fails slowly enough that the drift looks like something else until you weigh the vial.
References & further reading
Related resources from our lab consumables network:
External references and standards: